
Nextcloud is a robust, self-hosted file-sharing platform that allows you to control your data, providing a secure alternative to commercial cloud services. It’s an excellent choice for those who want to manage their cloud storage service, whether for personal use or within an organization.
Installing Nextcloud on CentOS 9 creates a self-hosted cloud storage solution, offering enhanced privacy and data control compared to third-party cloud services. It provides a secure file synchronization and sharing platform, facilitating collaboration with features like versioning, commenting, and real-time editing.
This article will demonstrate the instructions of installing as well as configuring Nextcloud on CentOS 9.
How to Install Nextcloud on CentOS 9?
Nextcloud is particularly beneficial for teams and organizations that require a reliable and private means to store, access, and work on files across various devices. For the installation of Nextcloud on CentOS 9, follow below steps:
Step 1: Install Apache and PHP Modules
To install the Apache HTTP Server and its associated tools on Fedora-based Linux distributions. The “httpd” and “httpd-tools” packages contain the Apache web server itself, including additional utilities. After that, install the required PHP modules to ensure compatibility with Nextcloud:
sudo dnf install httpd httpd-tools   # Install Apache Modules
sudo dnf install php php-mysqlnd php-pdo php-gd php-mbstring # Install PHP Modules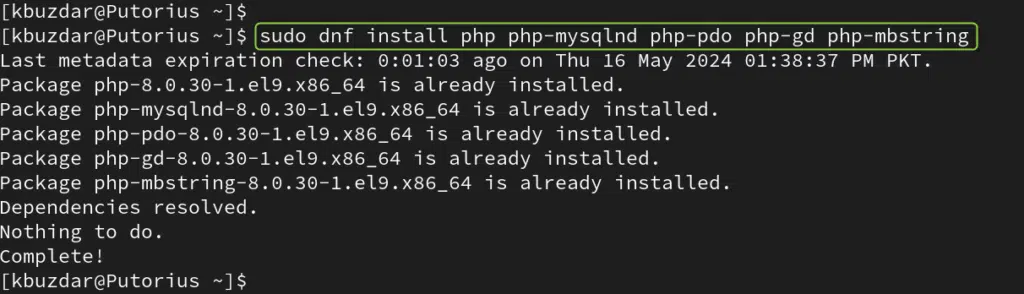
To start the Apache HTTP Server immediately and enable it to launch automatically at system boot, use the below commands:
sudo systemctl start httpd.servicesudo systemctl enable httpd.service
To permanently add HTTP and HTTPS services to the public zone of the firewall, ensuring that web server traffic can pass through the firewall. This is a common step in configuring a server to serve web content securely:
sudo firewall-cmd --permanent --zone=public --add-service=http
sudo firewall-cmd --permanent --zone=public --add-service=https
To apply the current permanent firewall configuration to the runtime, updating the active firewall rules without disrupting established connections:
sudo firewall-cmd --reload
Step 2: Install a Suite of Essential PHP Modules
To install a suite of essential PHP modules along with Vim and Httpd, ensuring that the server has the necessary tools for web development, including support for MySQL, compression, various PHP functions, and both APCU caching and its development headers:
sudo dnf install vim httpd php php-cli php-mysqlnd php-zip php-devel php-gd php-mbstring php-curl php-xml php-pear php-bcmath php-json php-pdo php-pecl-apcu php-pecl-apcu-devel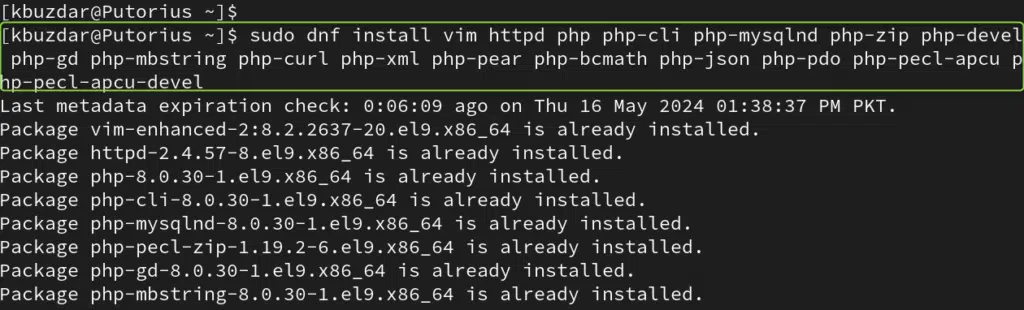
To install PHP extensions for MySQL databases, image processing, data transfer over networks, and the PHP Fast Process Manager on systems using the DNF package manager:
sudo dnf install php-mysqlnd php-gd php-curl php-ftp php-fpm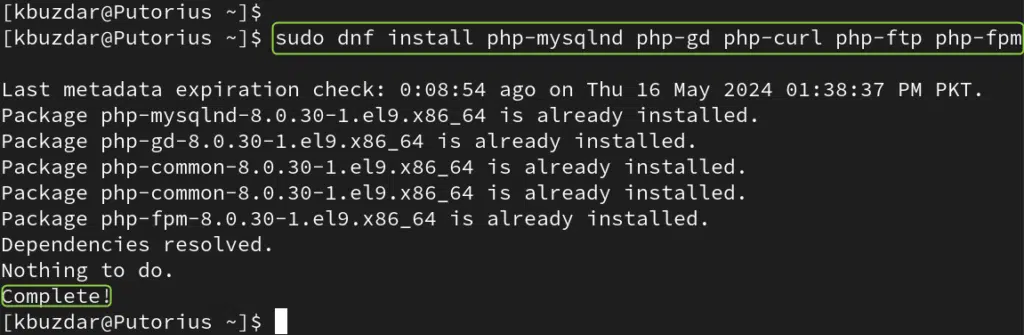
To display the version of PHP installed on a system, along with information about the PHP engine and its modules:
php -v
Step 3: Install MariaDB
Now, install MariaDB which is a popular database server, along with its client software on systems using the DNF package manager:
sudo dnf install mariadb-server mariadb 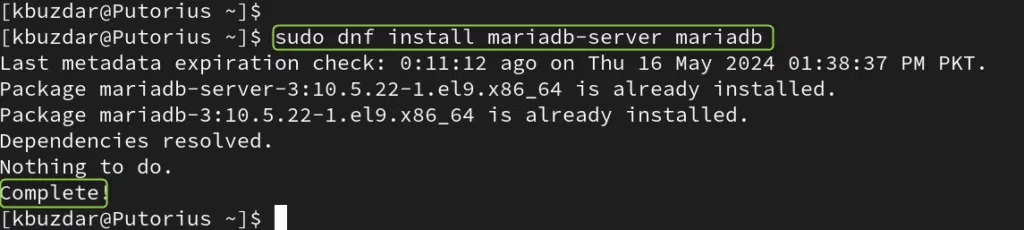
After that, start the MariaDB service, enable it to launch at boot, and check its current status, respectively. These are essential commands for managing the MariaDB service on a Linux system:
sudo systemctl start mariadb   # Start Database
sudo systemctl enable mariadb  # Enable Database
sudo systemctl status mariadb  # Check Database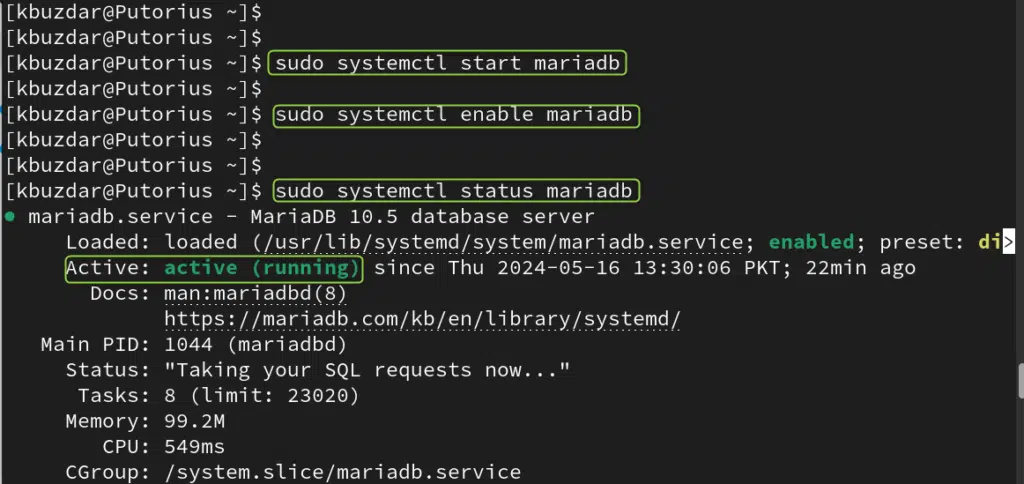
The command “sudo mysql_secure_installation” is a script that improves MySQL installation security by setting root passwords, removing anonymous users, and deleting the test database, among other settings:
sudo mysql_secure_installation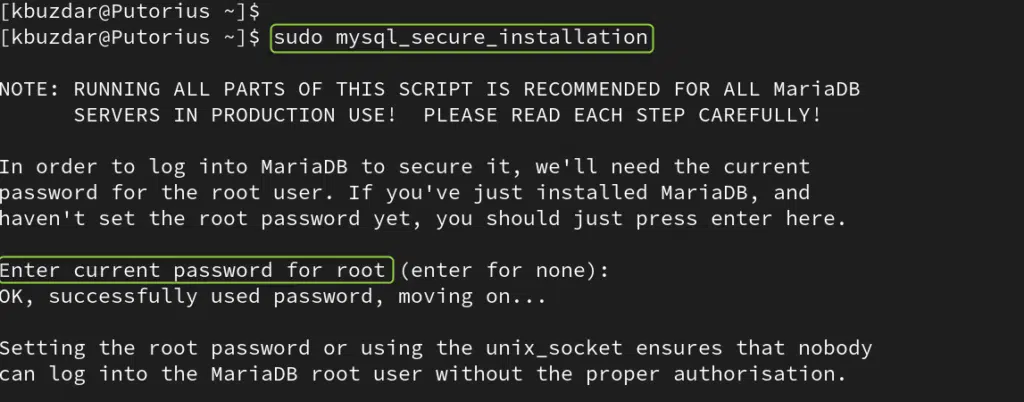
Now, prompts the user for the MySQL root password and then executes the SQL statement to display a list of all databases on the server:
sudo mysql -e "SHOW DATABASES;" -p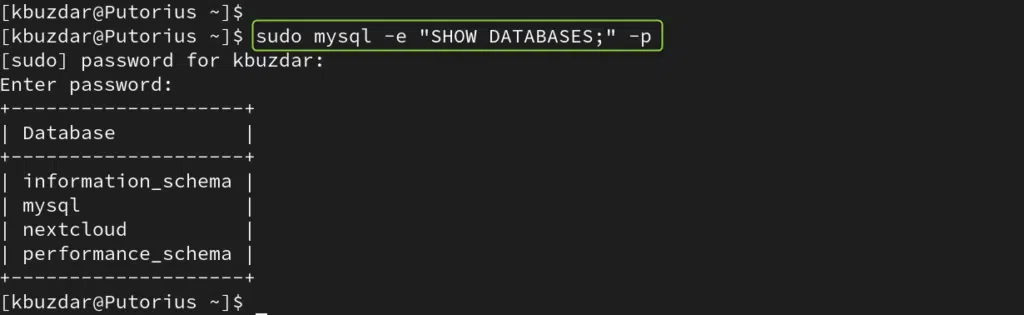
Step 4: Install Nextcloud
With the server configured, proceed to install Nextcloud by downloading the latest version from the official site. Unzip the downloaded file into the web directory and set the correct ownership:
wget https://download.nextcloud.com/server/releases/latest.zip
sudo unzip latest.zip -d /var/www/html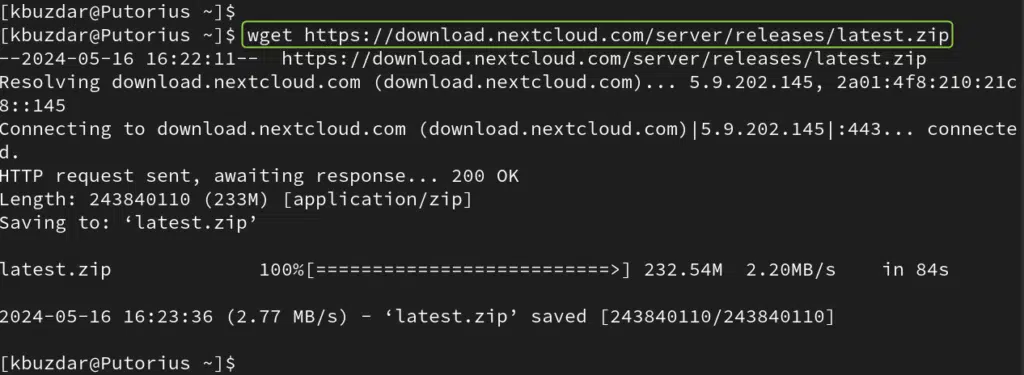
Step 5: Set Permissions
Assign the appropriate permissions to the Apache user for the Nextcloud directory and restart the services:
sudo mkdir /var/www/html/nextcloud/data   # Create Directory
sudo chown -R apache:apache /var/www/html/nextcloud   # Assign Ownership Permission
sudo systemctl restart httpd    # Restart Services
Step 6: Firewall Configuration
Modify the firewall settings to allow HTTP traffic:
sudo firewall-cmd --permanent --add-port=80/tcp     # Assign Port 80 for Traffic
sudo firewall-cmd --reload                          # Reload Services
Step 7: SELinux Configuration
If SELinux is enabled on your system, adjust the policy to allow Apache network connectivity:
sudo semanage fcontext -a -t httpd_sys_rw_content_t '/var/www/html/nextcloud/data(/.*)?'      # Adjust the Data Policy
sudo semanage fcontext -a -t httpd_sys_rw_content_t '/var/www/html/nextcloud/config(/.*)?'    # Adjust the Configuration Policy
sudo semanage fcontext -a -t httpd_sys_rw_content_t '/var/www/html/nextcloud/apps(/.*)?'     # Adjust the App Policy
sudo semanage fcontext -a -t httpd_sys_rw_content_t '/var/www/html/nextcloud/.htaccess'      # Adjust the Apache Policy
sudo semanage fcontext -a -t httpd_sys_rw_content_t '/var/www/html/nextcloud/.user.ini'
sudo semanage fcontext -a -t httpd_sys_rw_content_t '/var/www/html/nextcloud/3rdparty/aws/aws-sdk-php/src/data/logs(/.*)?'

sudo restorecon -R '/var/www/html/nextcloud/'    # Enable SELinux
sudo setsebool -P httpd_can_network_connect on
Step 8: Apache Virtual Host Configuration
Create a virtual host configuration for Nextcloud in the Apache directory:
sudo nano /etc/httpd/conf.d/nextcloud.confAdd the necessary configuration directives, mentioning the server’s name as well as the root directory for Nextcloud files:
<VirtualHost *:80>
  DocumentRoot /var/www/html/nextcloud/   # Specify Nextcloud directory
  ServerName  nextcloud.putorius.com   # Specify Domain

  <Directory /var/www/html/nextcloud/>
    Require all granted
    AllowOverride All
    Options FollowSymLinks MultiViews

    <IfModule mod_dav.c>
      Dav off
    </IfModule>

  </Directory>
</VirtualHost>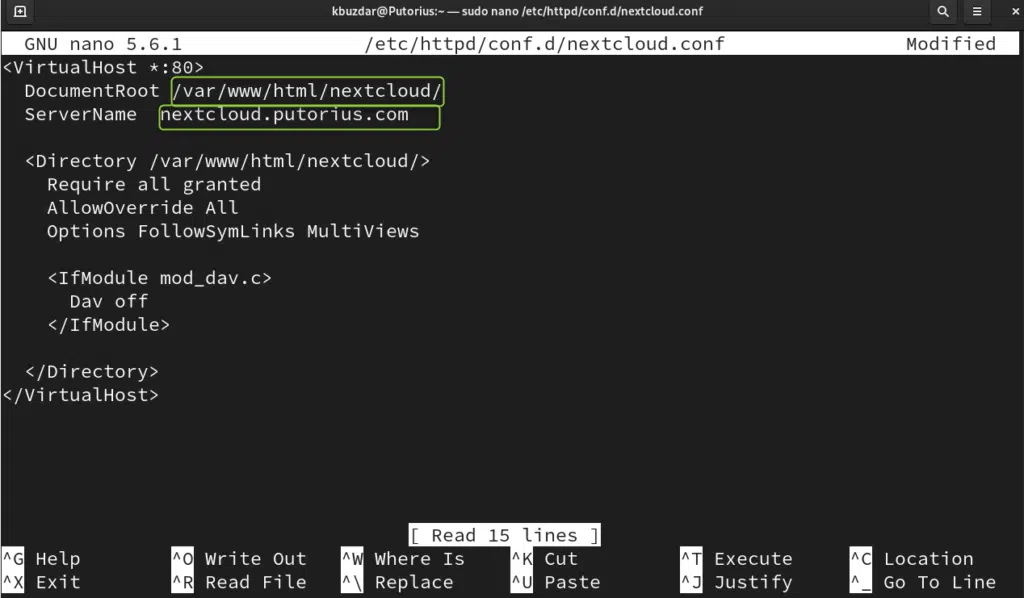
Note: Users must add the content, making sure to replace “ServerName” and “DocumentRoot” with your domain and Nextcloud directory.
After configuring the virtual host, reload the Apache service for applying the modifications:
sudo systemctl restart httpd
Step 9: Database Configuration
Now, create a MariaDB database. After that, create a user for Nextcloud:
sudo mysql -u root
CREATE USER 'nextcloud'@'localhost' IDENTIFIED BY 1212;    # Create User
CREATE DATABASE IF NOT EXISTS nextcloud CHARACTER SET utf8mb4 COLLATE utf8mb4_general_ci;              # Create Database
GRANT ALL PRIVILEGES on nextcloud.* to 'nextcloud'@'localhost'; # Assign Permission
FLUSH privileges;EXIT;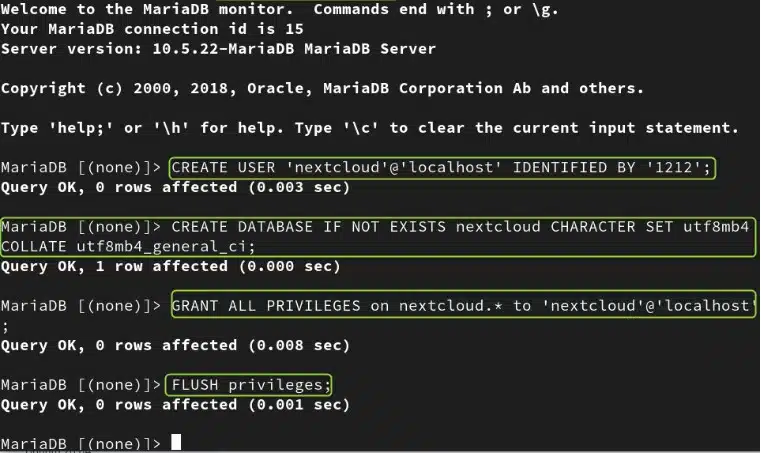
Step 10: Finalize Nextcloud Setup
Open the Nextcloud web installer via the browser and complete the setup. For this, create an admin account after that, input the database info. Let’s navigate to “http://your_domain.com” in your web browser or Server IP address:
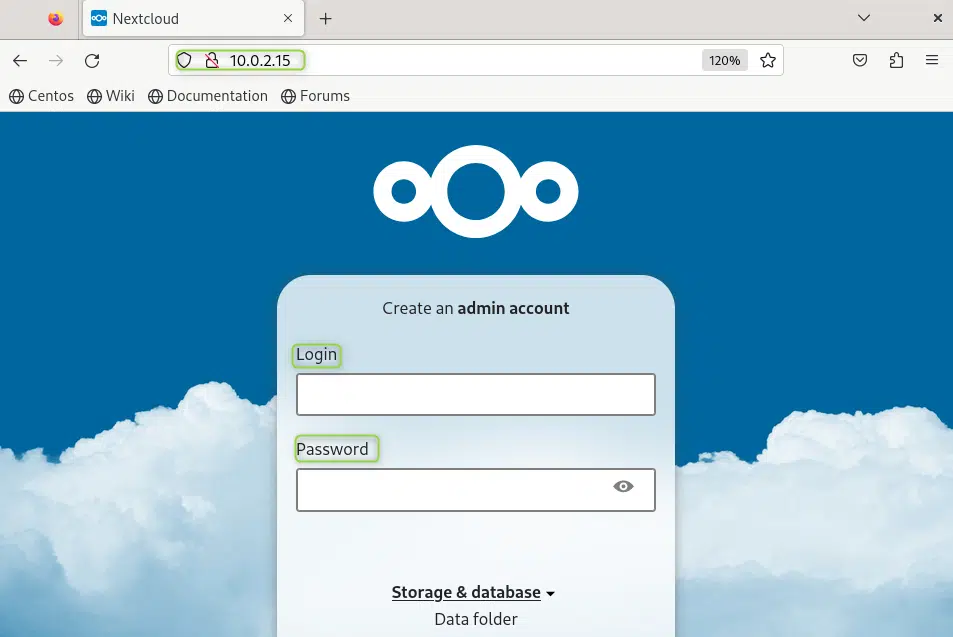
Now, follow the on-screen instructions to complete the Nextcloud installation. After that, hit the “Install” button at the end of the web interface:
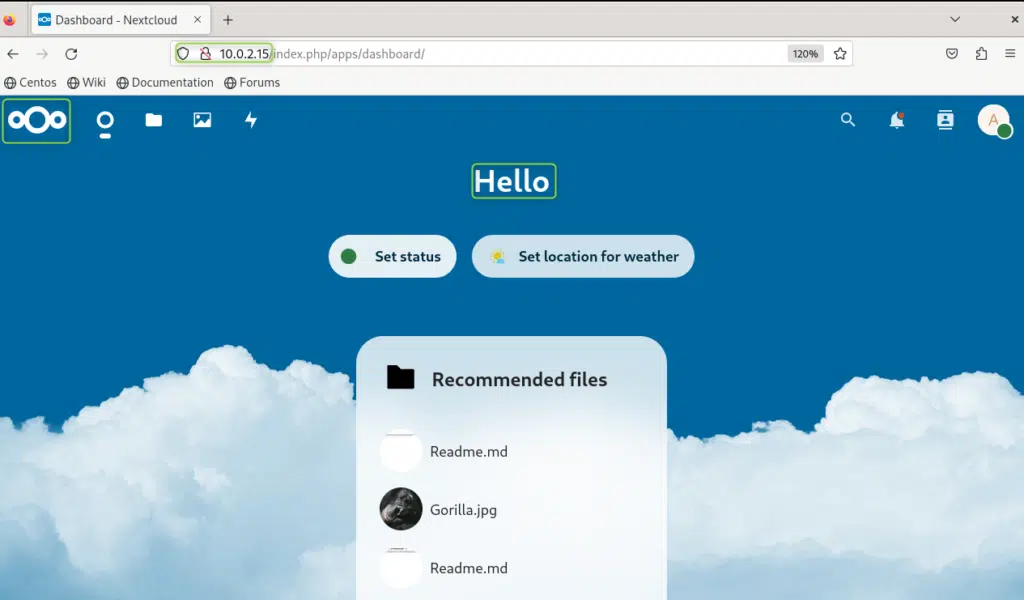
By following these steps, you can successfully install and configure Nextcloud on your CentOS 9 server, creating a private cloud storage solution tailored to your needs.
Conclusion
To install Nextcloud on CentOS 9, you’ll need to set up a LAMP stack, enable the EPEL repository, and install the necessary PHP modules. Begin by updating your system and then proceed to configure Apache for Nextcloud. Then, create a virtual host for Nextcloud and ensure all required PHP modules are installed.
After setting up the database and user, download Nextcloud from the official site, extract it to your web directory, and assign the appropriate permissions. Finally, complete the setup through the Nextcloud web interface.
This article has successfully installed as well as configured Nextcloud on your CentOS 9 server. Remember, maintaining a Nextcloud server requires regular updates and security checks to ensure the integrity and safety of your data.